

Replacing Rusty Sills and Wheel-arches On a Mk1
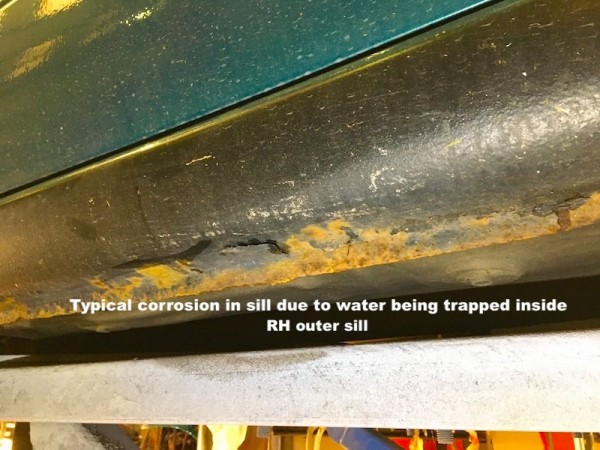
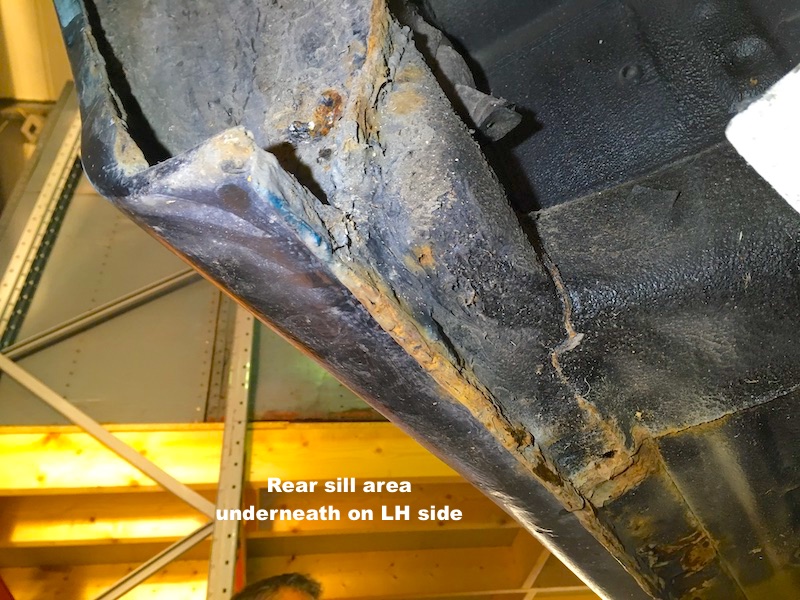
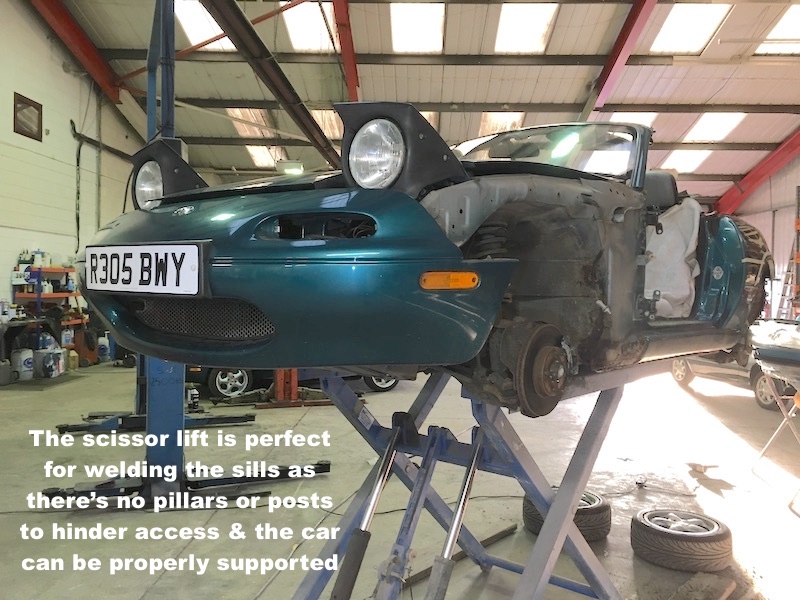
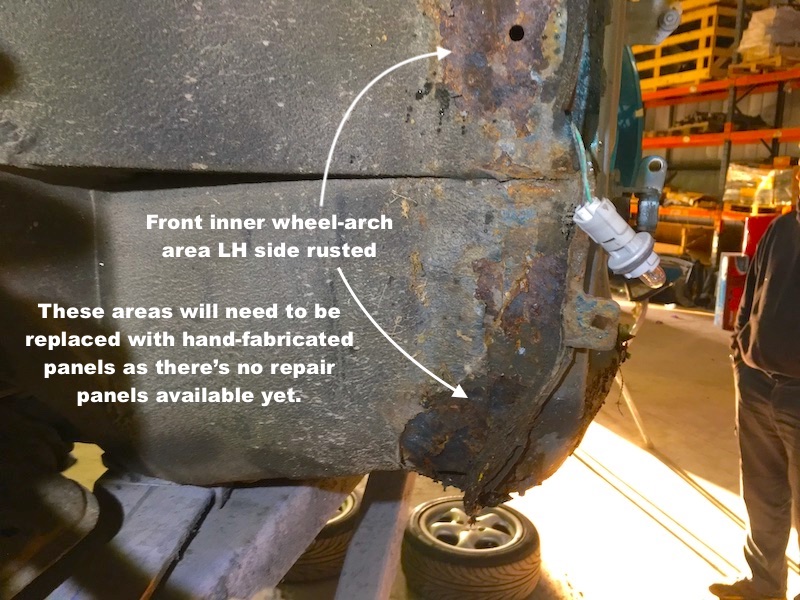
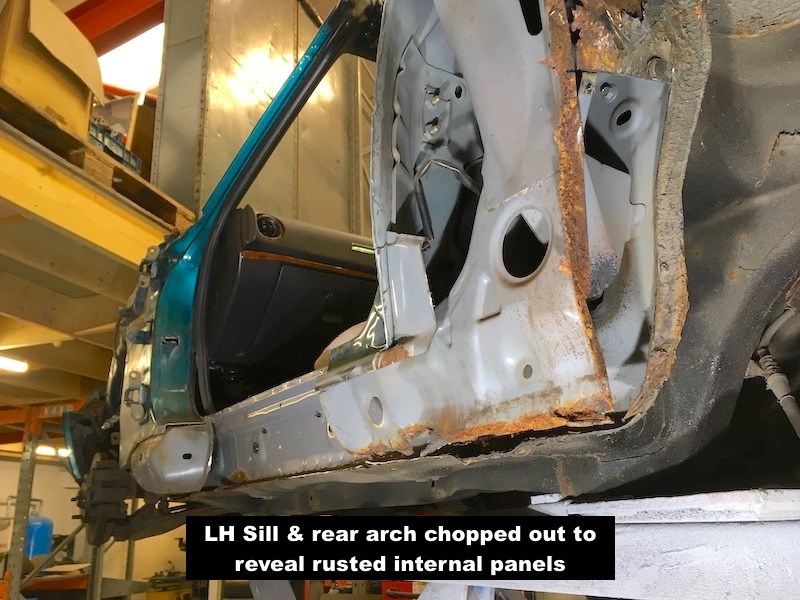
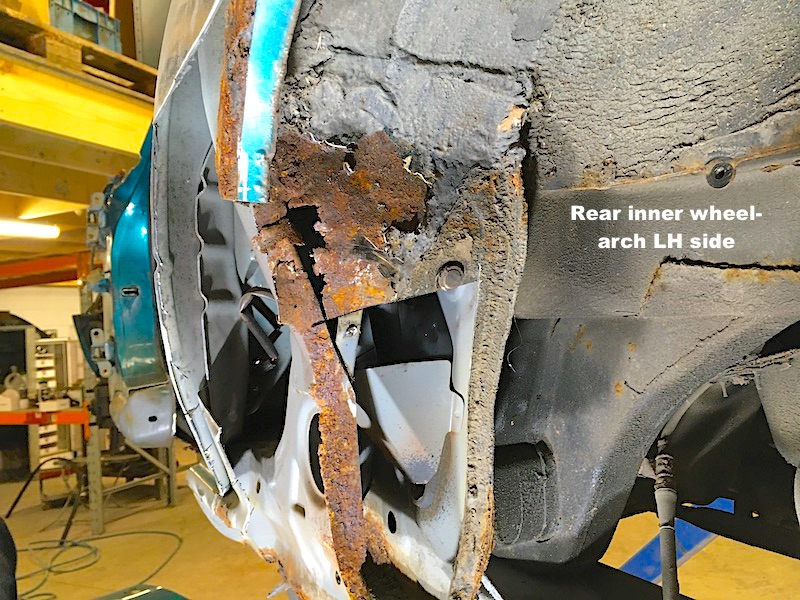
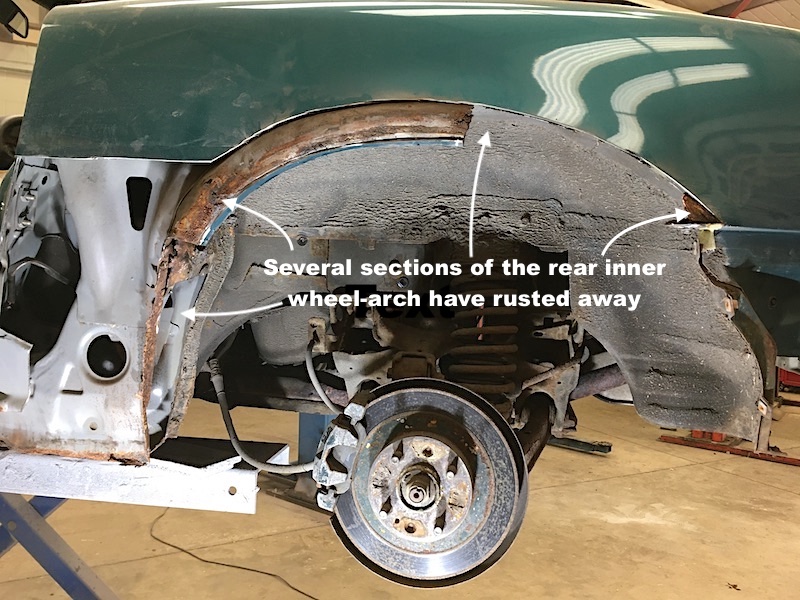
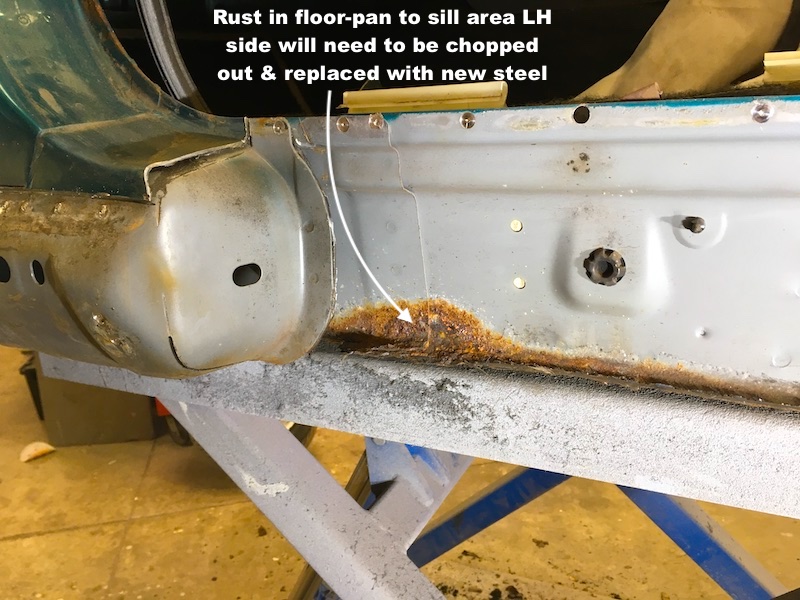
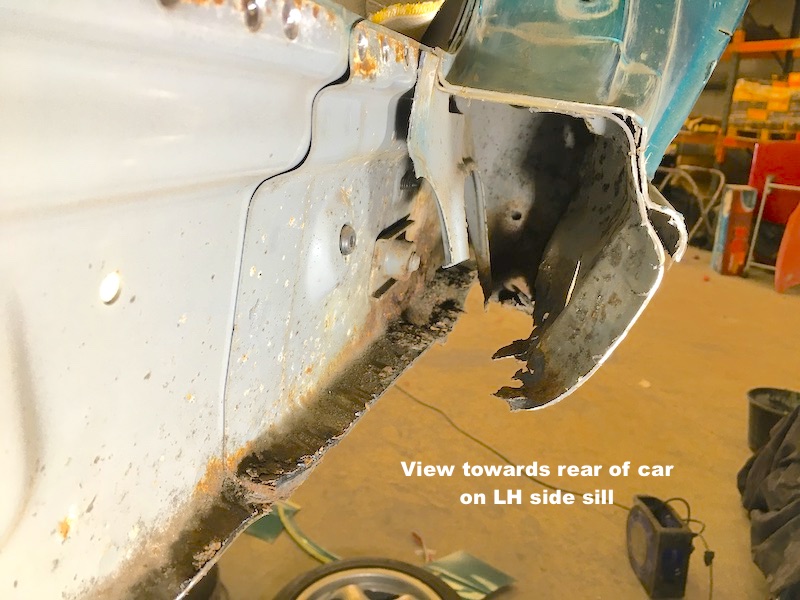
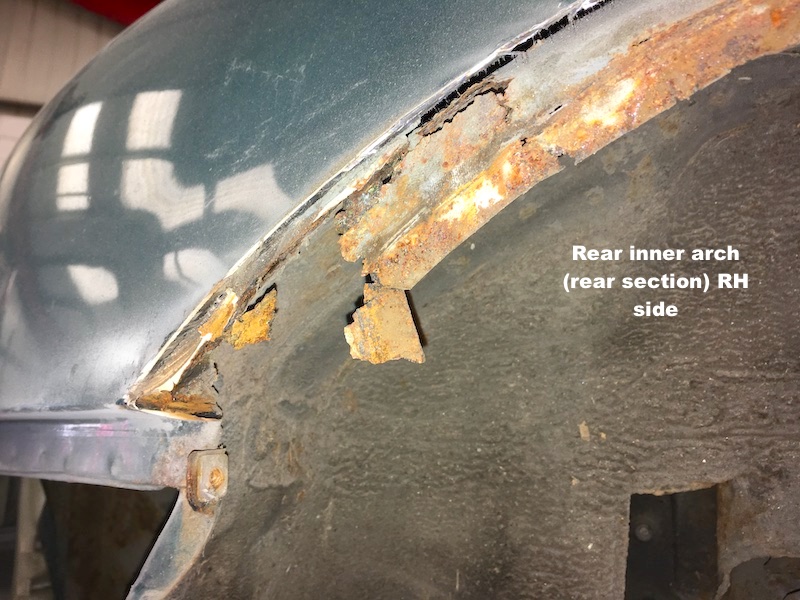
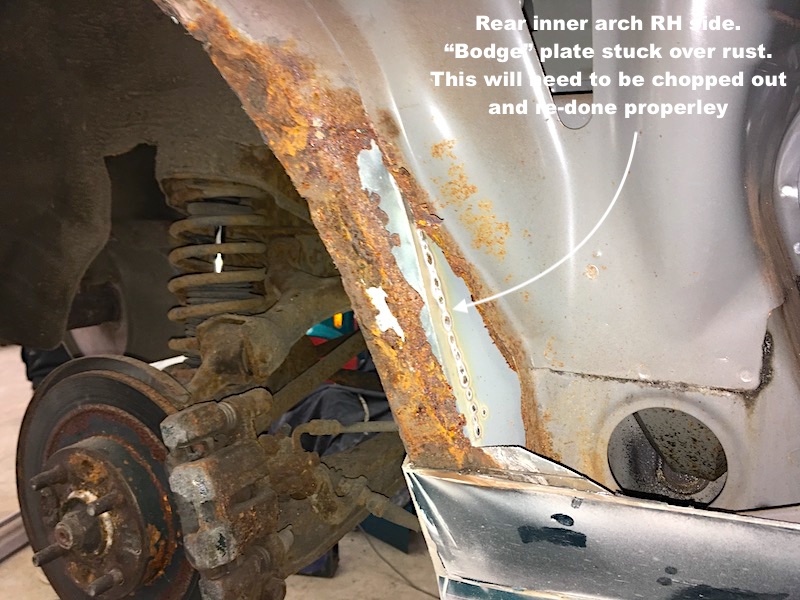
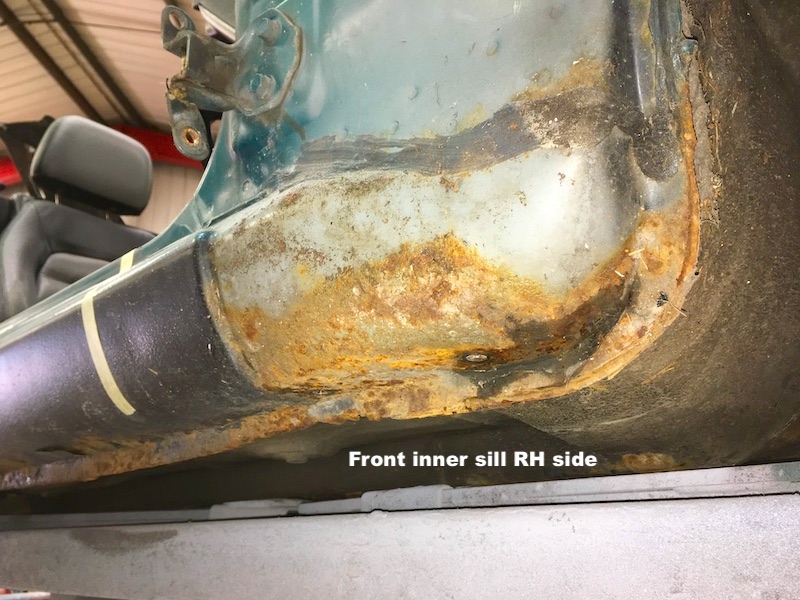
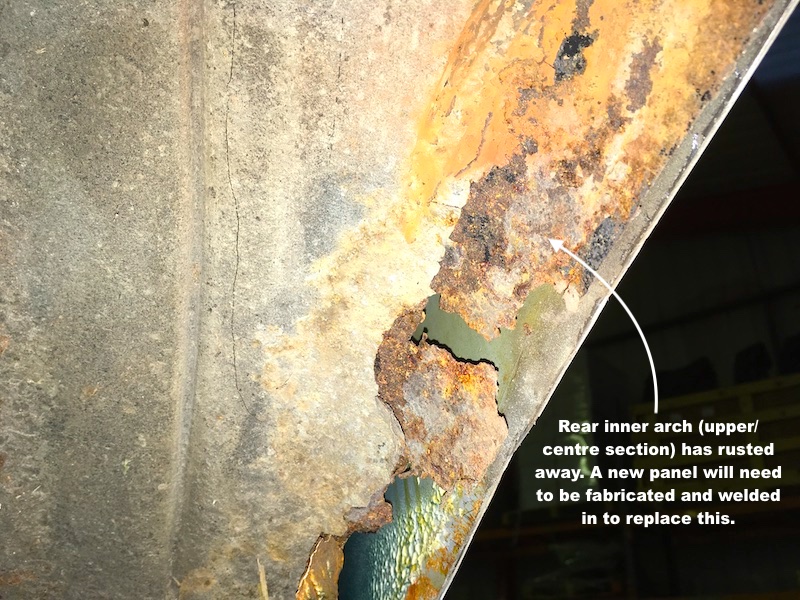
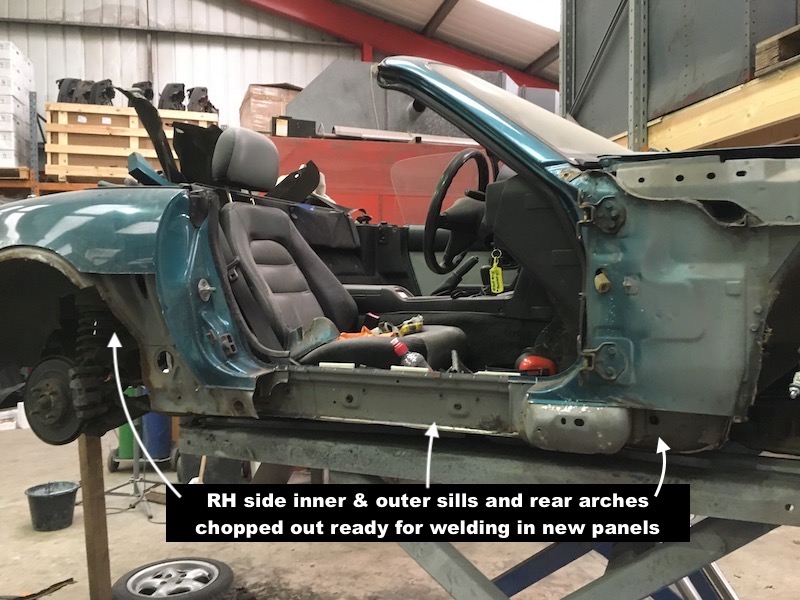
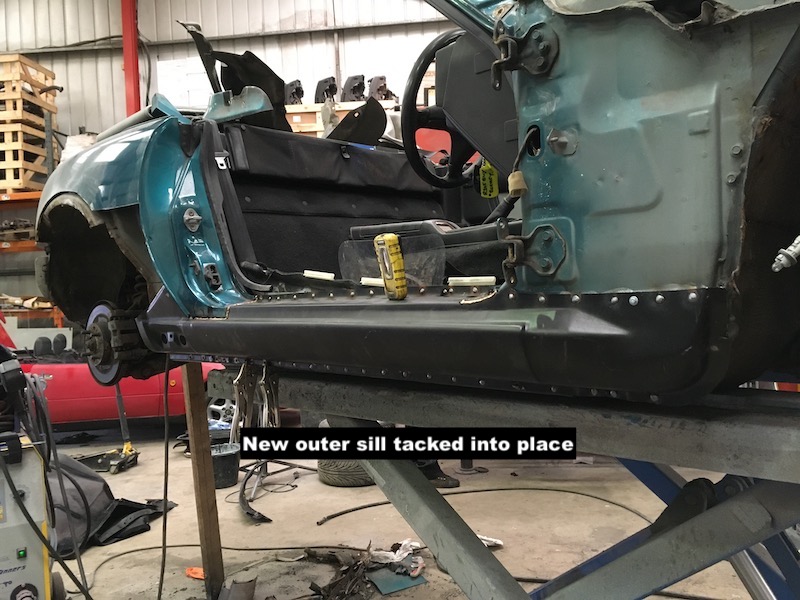
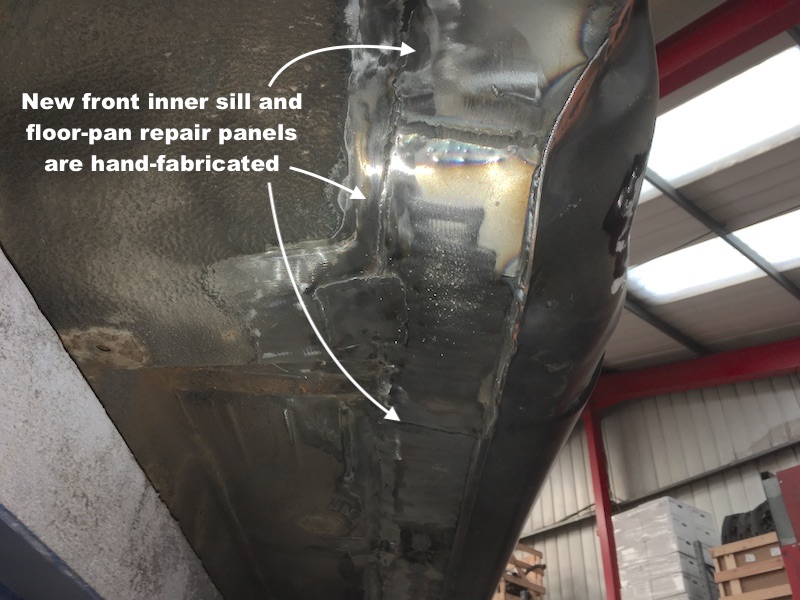
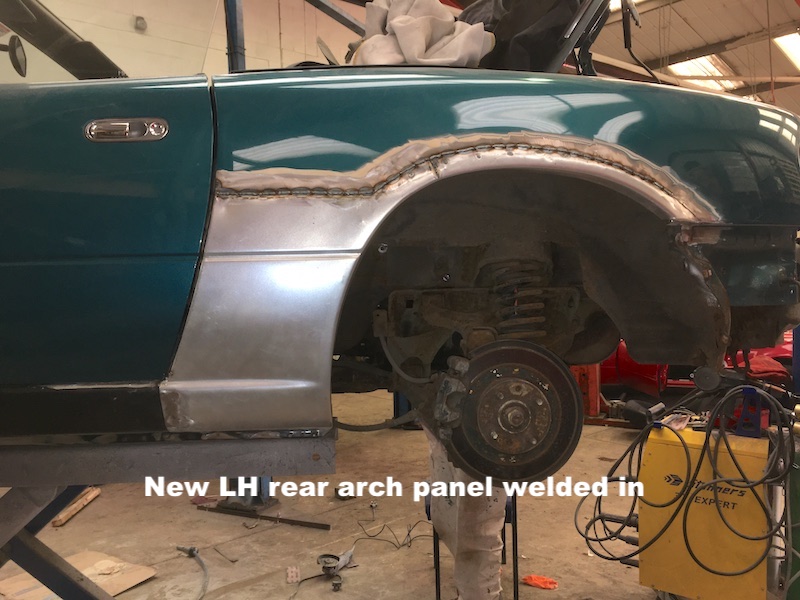
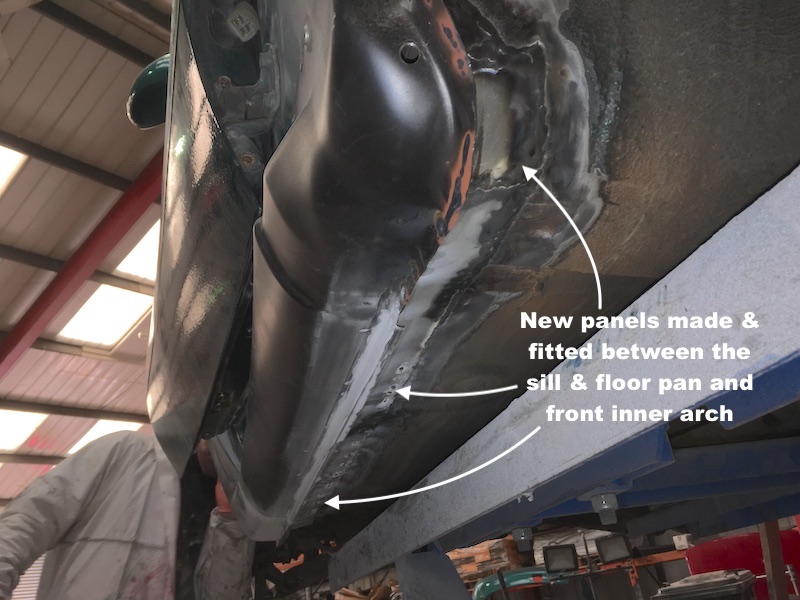
We recently restored a customer's Mk1 Berkeley which, although mechanically fairly sound, was suffering from more than a little corrosion...
Take a look at the photos below to see how we sorted the rust out once and for all. If you are interested in restoring your MX-5 back to its former glory, why not get in touch with us and get the job done properly. Call Martin on 01709 863555 or email me at martin@mx5city.com for more information or a quote.
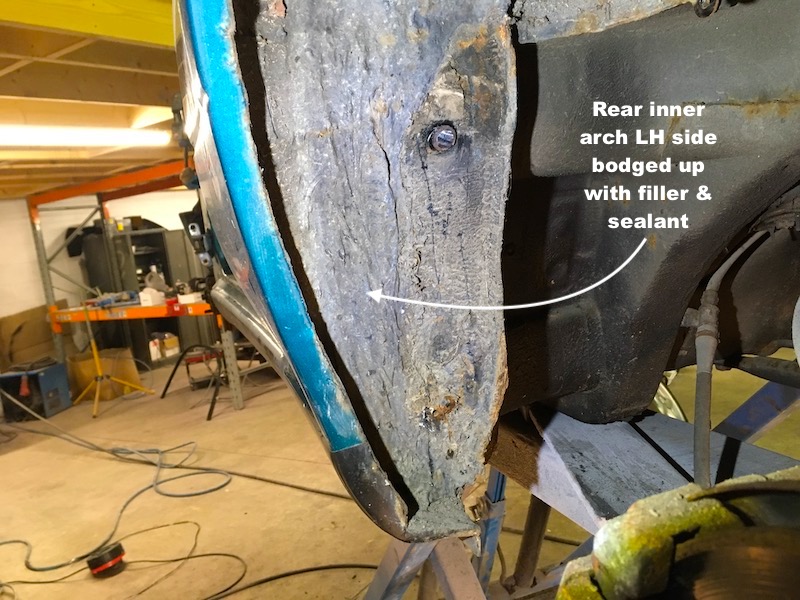
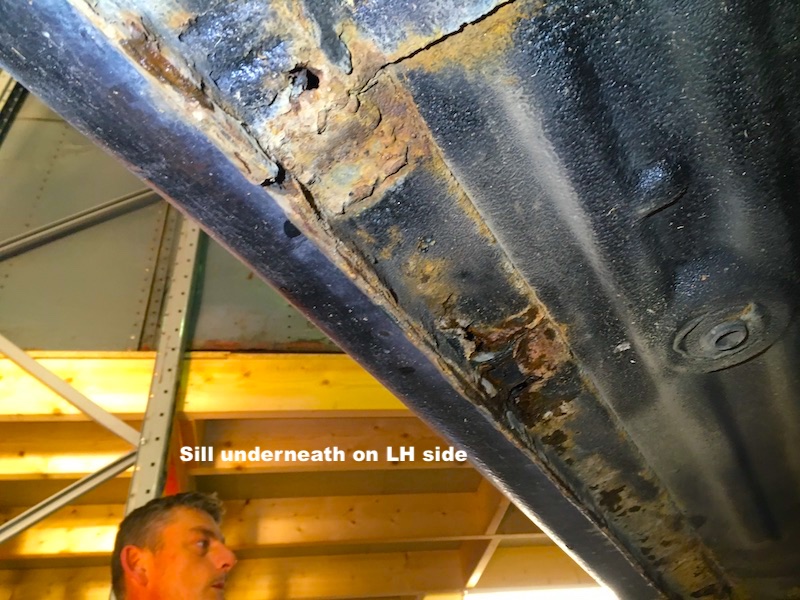
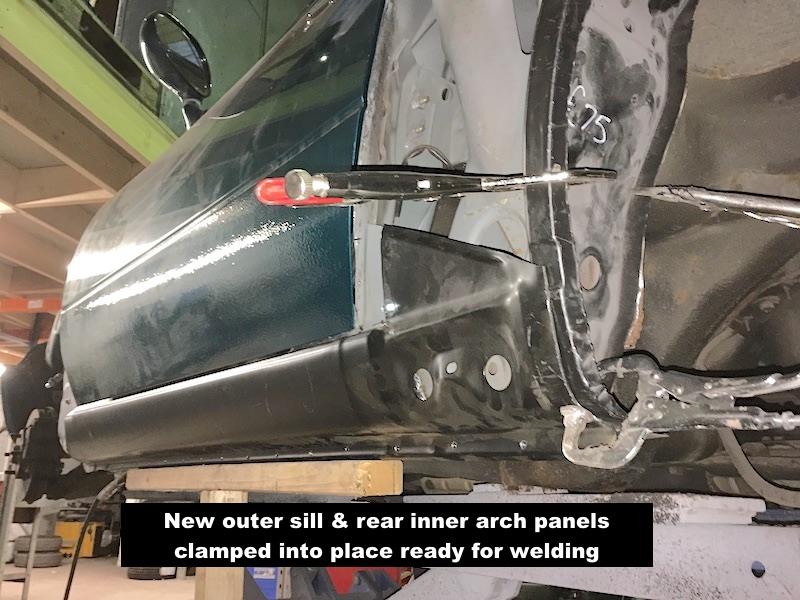
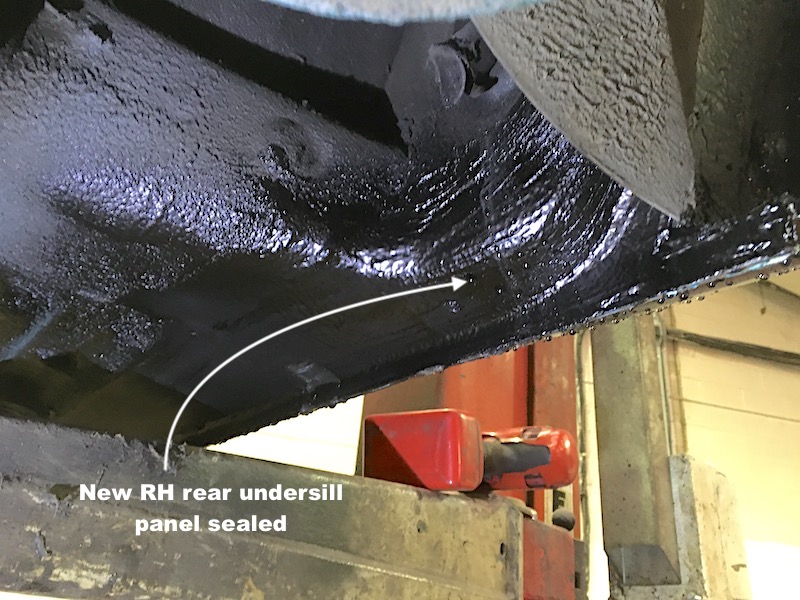
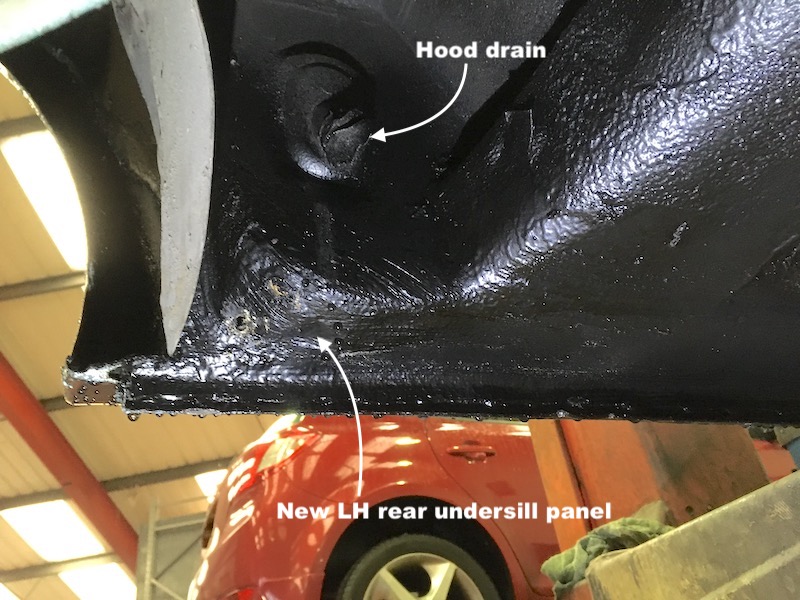
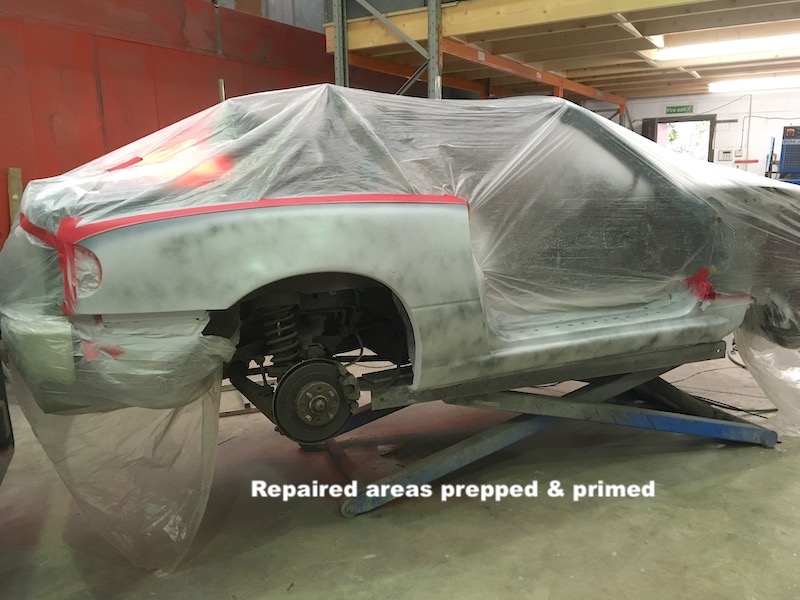
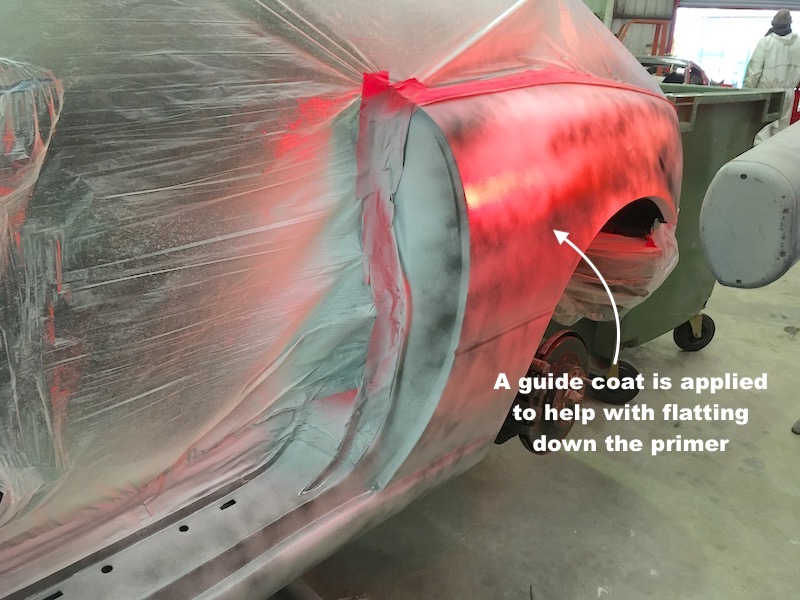
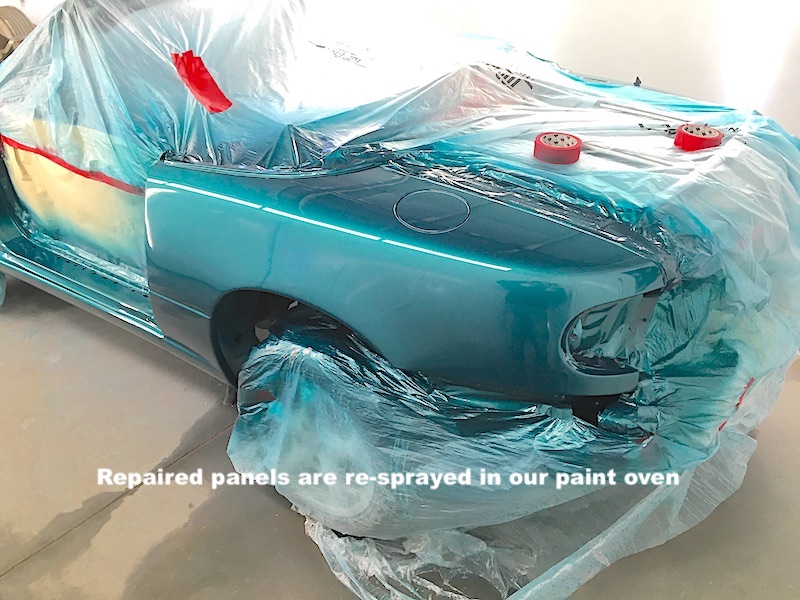
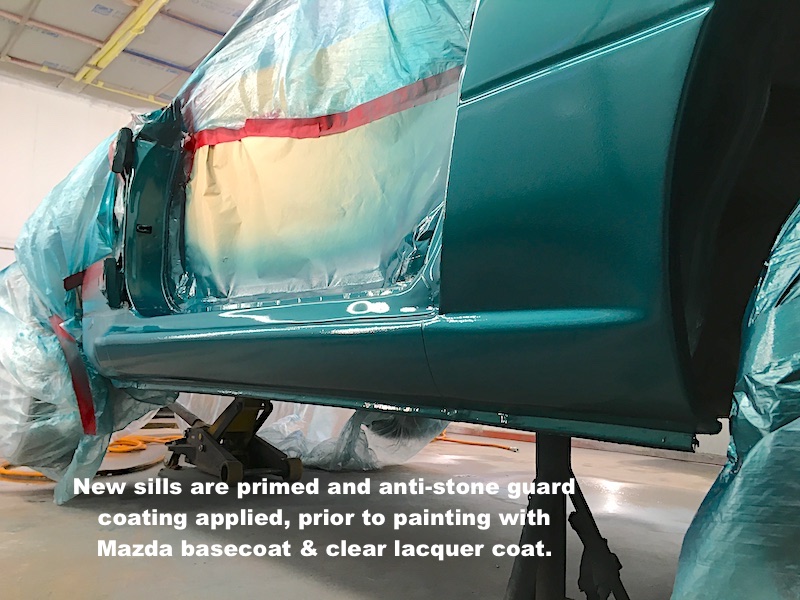
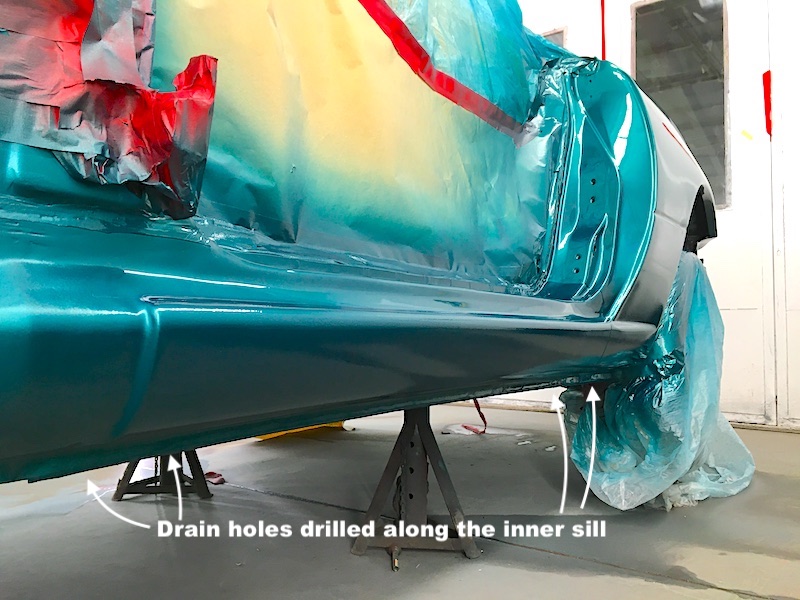
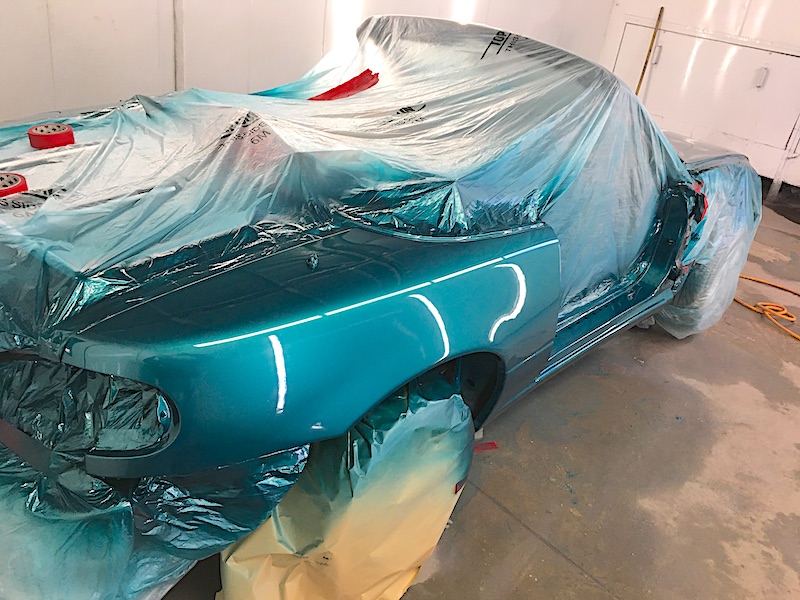
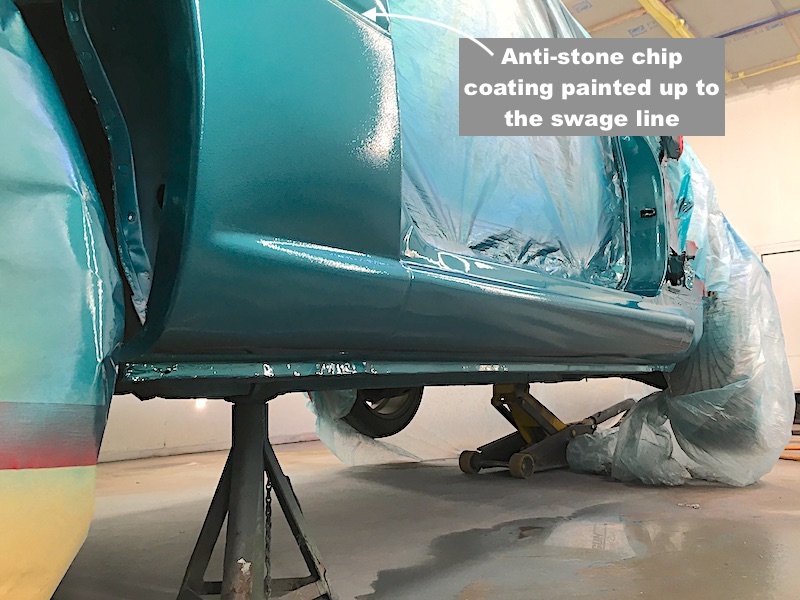
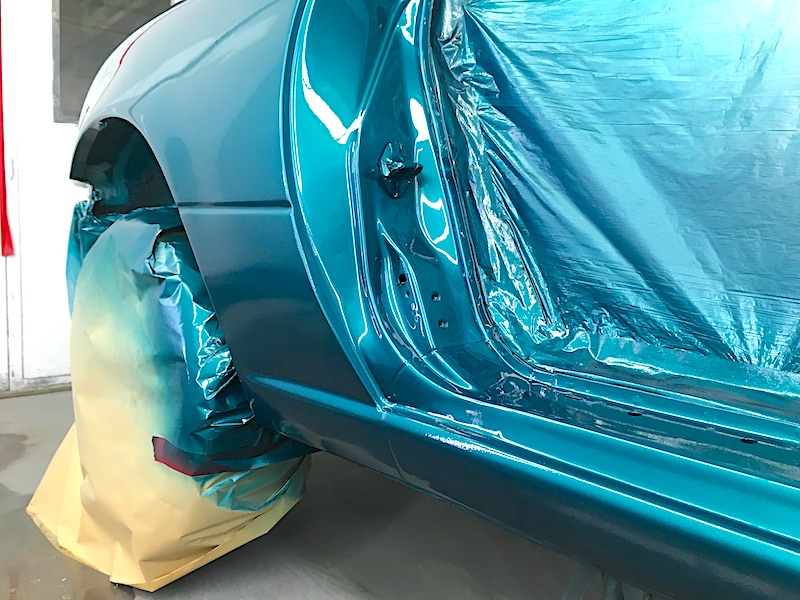
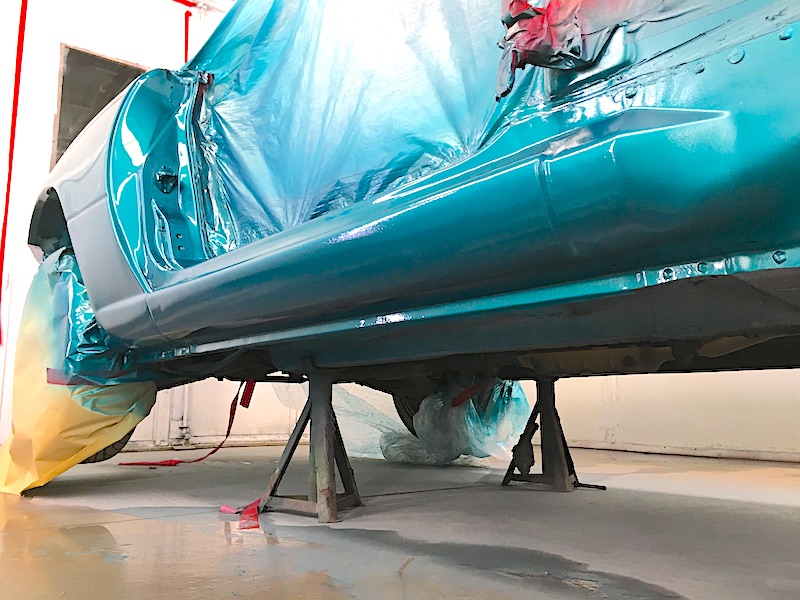 Once the car has been painted, we spend a good few hours injecting all the sills and wheel-arches with "Waxoyl" corrosion protection treatment. This is heated up to around 60 degrees C to help the wax flow into all the joints, nooks and crannies, etc. When it cools the wax "grips" the surface and creates a permanent wax coating to protect the steel from water (due to condensation) which would start the rust process off again. We recommend checking the condition of the Waxoyl every 2 to 3 years to make sure it is still doing its job and re-apply to any areas that need it.
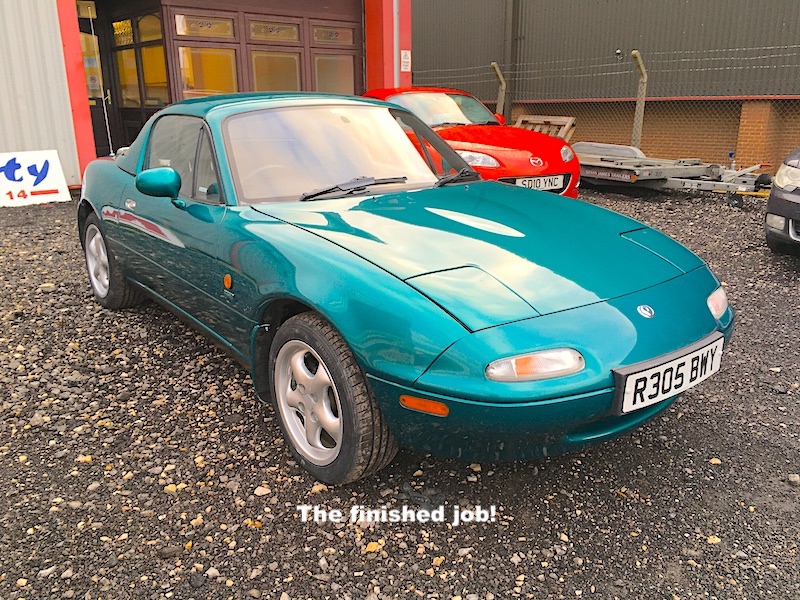
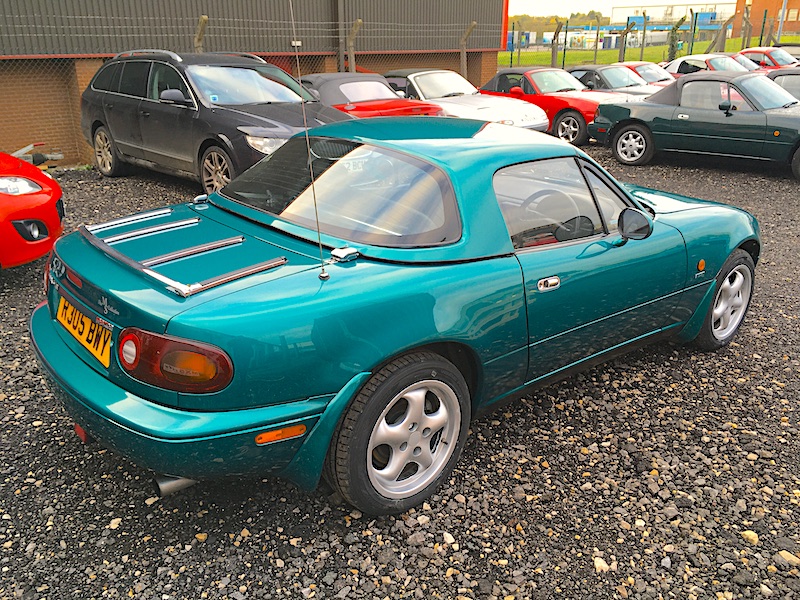
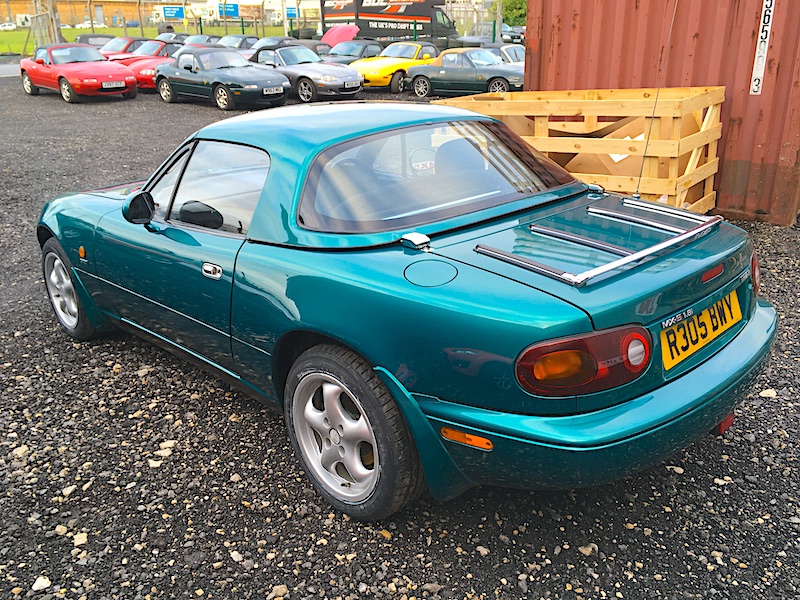
Visit our website mx5city.com or give us a call on 01709 863555 for further information or to arrange a quote for similar work on your MX-5.